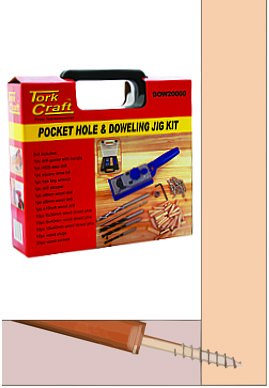
The kit has a dual function. It is both a doweling and a pocket hole jig.
The kit consists of the following:
- (x1) Drill guide with handle
- (x1) Square drive bit
- (x1) Hex key wrench
- (x1) Drill stopper
- (x1) 6mm wood drill bit
- (x1) 8mm wood drill bit
- (x1) 10mm wood drill bit
- (x10) 6x30mm wooden dowel pins
- (x10) 8x40mm wooden dowel pins
- (x10) 10x40mm wooden dowel pins
- (x10) Wooden plugs
- (x20) Wood screws
To use the kit with both functions, you need the following:
- A portable drill with chuck capacity of 10mm or higher.
- A G-clamp
- A Mallet
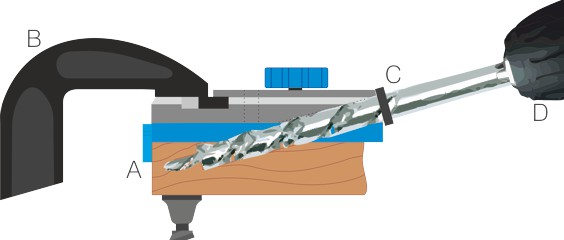
Here is an illustration of how the pocket hole jig works with instructions:

Setting up the pocket hole jig correctly:
- Tilt the front stop to the downward position.
- Clamp the jig down flush with the front stop against the timber.
- Ensure that the Drill stopper (collar) is tightened on the 9.5mm drill bit in the correct depth stop position.
- Tighten the 9.5mm drill bit in the chuck of the portable drill.
Always double check to make sure all the above steps are secure before proceeding.
Drill into the timber until the depth stop is in contact with the jig.
Remove the G-clamp and the jig. Align the timbers to form the joint. Clamp the timbers together to prevent movement whilst driving in the wood screw with the supplied square drive bit. The wooden plugs can be inserted with a mallet afterwards.
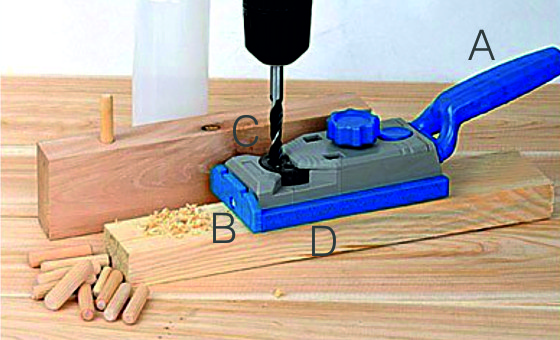
Using the jig for doweling

Setting up the doweling jig correctly:
- Insert the supplied handle into the pocket drilling guide holes.
- Tilt the front end stop to the upward position
- Adjust the guide collar to the corresponding diameter drill bit 6,8 or 10mm by loosening the blue knob.
- Align the jig on the timber with the mearuments embosed on the base of the jig
Make sure that the drill is perpendicular with the timber before proceeding.


